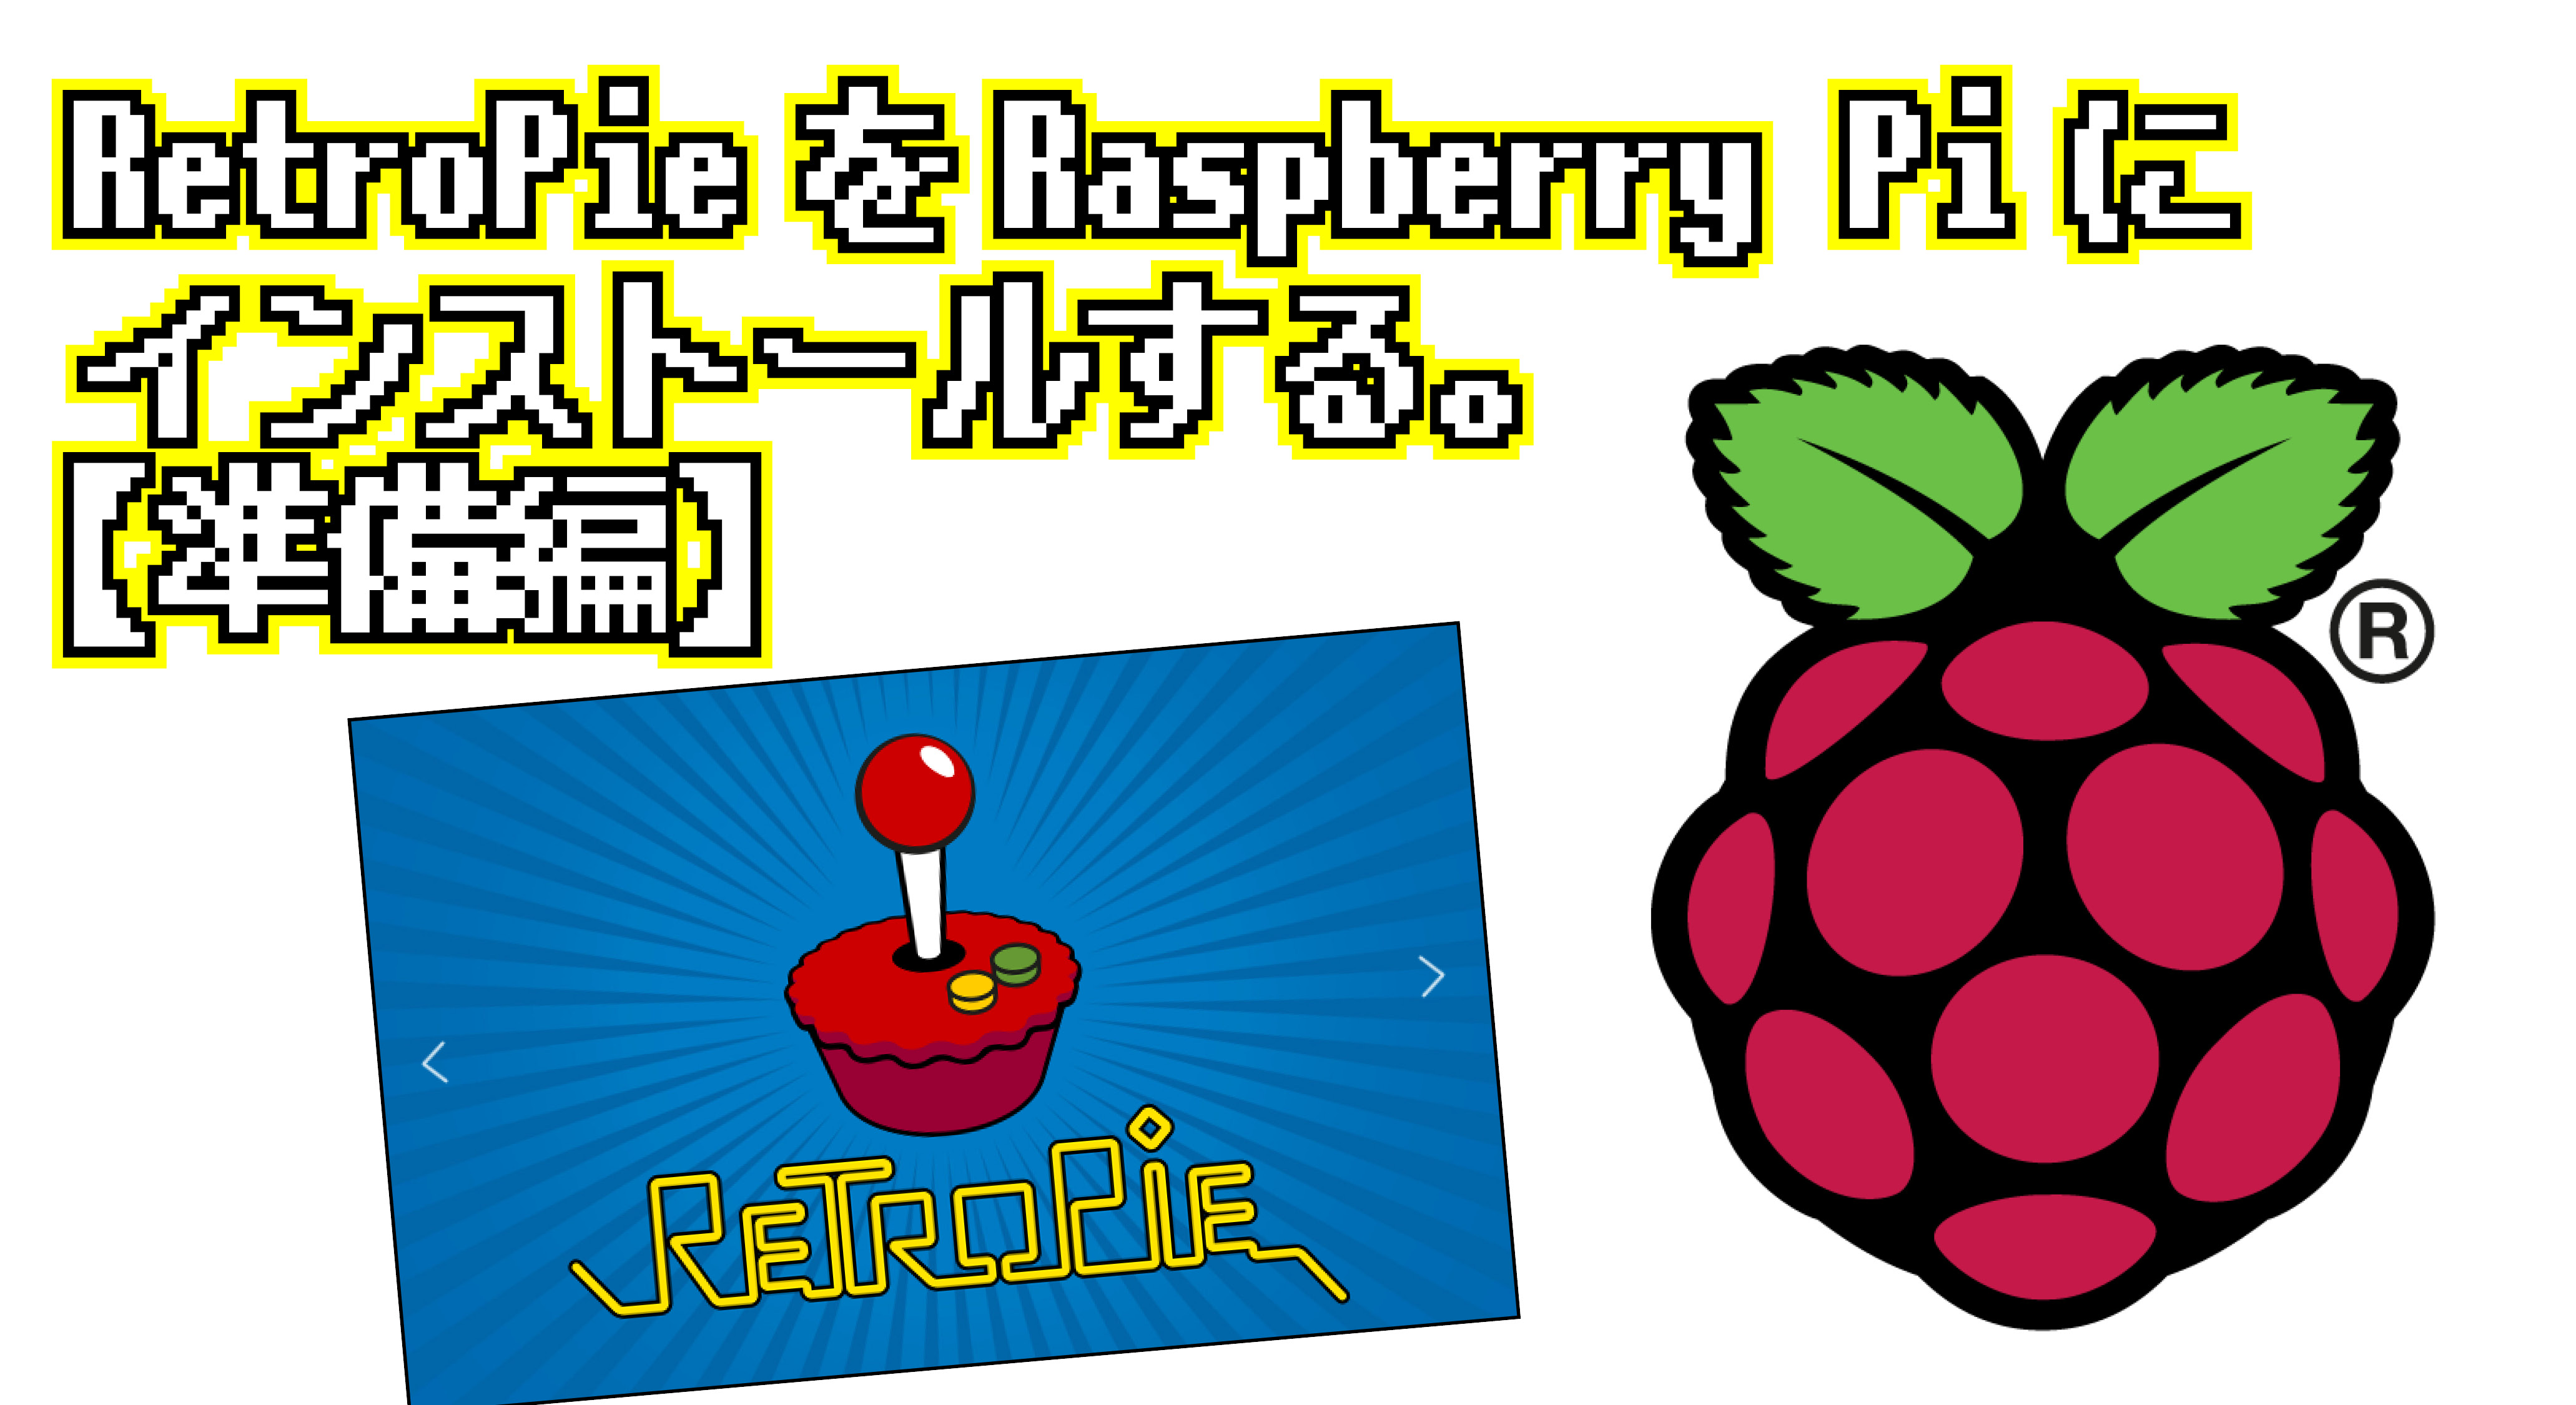
さて、衝動買してしまった NESPi Case たちが届く前に、Raspberry Pi に RetroPie をインストールしておきたい。
Rasbian 上にインストールすることもできるけれども、先日まで試していた Debian 系にインストールすることを思うと、べらぼうに時間がかかりそうなのでいちばんシンプルな方法で用意する。
まずはダウンロード。
RetroPie をダウンロードしなければ始まらない。
![RetroPie を Raspberry Pi にインストールする【準備編】](https://i0.wp.com/pc-freedom.net/wp-content/uploads/2019/03/RetroPie_website_00.png?resize=800%2C434&ssl=1)
ダウンロードは公式の Web サイトから行う。
ダウンロードしたイメージデータは gzip 形式 (.gz) になっているので、Windows などで解凍する場合には、Winzip や 7zip などを使う必要がある。
![RetroPie を Raspberry Pi にインストールする【準備編】](https://i0.wp.com/pc-freedom.net/wp-content/uploads/2019/03/RetroPie_download_01.png?resize=800%2C451&ssl=1)
- Winzip >> https://www.winzip.com/win/jp/gz-file.html
- 7zip >> https://sevenzip.osdn.jp/
ちなみに僕は 7zip で解凍。
![RetroPie を Raspberry Pi にインストールする【準備編】](https://i0.wp.com/pc-freedom.net/wp-content/uploads/2019/03/RetroPie_download_02.png?resize=800%2C451&ssl=1)
出来上がったイメージファイルがこちら。
![RetroPie を Raspberry Pi にインストールする【準備編】](https://i0.wp.com/pc-freedom.net/wp-content/uploads/2019/03/RetroPie_download_04.png?resize=800%2C451&ssl=1)
2.25GB にもなった。
SD カードの準備。
次に SD カードの準備をする。
けっこう相性問題があるようなので、心配な場合には RPi SD cards にて確認しておくと安心。
![RetroPie を Raspberry Pi にインストールする【準備編】](https://i0.wp.com/pc-freedom.net/wp-content/uploads/2019/03/RPi-SD-cards.png?resize=800%2C434&ssl=1)
- RPi SD cards >> https://elinux.org/RPi_SD_cards
個人的な印象だけれども、頭文字” T “で 32GB だと、相性が良さそうな気配。
であればよく使う Toshiba (東芝) とか Transcend 、最近台頭してきた Team とかがいいかな?
![RetroPie を Raspberry Pi にインストールする【準備編】](https://i0.wp.com/pc-freedom.net/wp-content/uploads/2019/03/IMG_0781.jpeg?resize=800%2C600&ssl=1)
その中から今回は、ポップなカラーリングの Team のものを使うとする。
やっぱり、ゲームをするならポップな感じのほうが楽しいからね。
おまけに安い。
- Team microSDHCカード 32GB >> https://amzn.to/2NM9OfK
![RetroPie を Raspberry Pi にインストールする【準備編】](https://i0.wp.com/pc-freedom.net/wp-content/uploads/2019/03/IMG_0780-e1551786695243-1024x768.jpeg?resize=800%2C600&ssl=1)
で、これをどうするかというと、Raspberry Pi が推奨する SD card formatter を使いフォーマットする。
![RetroPie を Raspberry Pi にインストールする【準備編】](https://i0.wp.com/pc-freedom.net/wp-content/uploads/2019/03/SD-Card-Formatter_website.png?resize=800%2C434&ssl=1)
- SD card Formatter >> https://www.sdcard.org/jp/downloads/formatter_4/
インストールや操作方法については、ユーザーズマニュアルが用意されているのでそちらを参照のこと。
![RetroPie を Raspberry Pi にインストールする【準備編】](https://i0.wp.com/pc-freedom.net/wp-content/uploads/2019/03/SD-Card-Formatter_00.png?resize=392%2C429&ssl=1)
イメージデータを書き込む。
イメージデータと SD カードが用意できたところで、Etcher を使って書き込む。
![RetroPie を Raspberry Pi にインストールする【準備編】](https://i0.wp.com/pc-freedom.net/wp-content/uploads/2019/03/Etcher.png?resize=800%2C506&ssl=1)
- Etcher >> https://www.balena.io/etcher/
Etcher の使い方は、以前の記事が参考になるかと思うので貼り付けておく。
https://pc-freedom.net/software/etcher-で-linux-のインストールメディアを作る。/
ほかのライティングソフトも紹介されているけれども、Etcher ならクロスプラットフォームなので、どんな OS でも大丈夫。
書き込みが終わった SD カードの状態は、こんな感じ。
![RetroPie を Raspberry Pi にインストールする【準備編】](https://i0.wp.com/pc-freedom.net/wp-content/uploads/2019/03/93af1777cccef8d34fbf5b297dcfb5dc.png?resize=754%2C597&ssl=1)
けっこうな量の「未割り当て」領域があるけれども、これは RetroPi を起動してからのお話。
準備が整ったところで、今回はここまで。
次回はいよいよ Raspberry Pi で RetroPie を起動させる。